
A while back I created this Lone Star... it's hanging in the shop right now (as some of you know), and I still intend to create an actual pattern for it. The whole thing, cutting and all, came together over the course of 3 or 4 evenings, much faster than I expected. I have a Lone Star ruler that I bought maybe 10 years ago, not long after I started quilting, with dreams of making a big beautiful star of my own. And then I chickened out. For, well, about 10 years.

In truth it was pretty straight forward to assemble... I had read some warnings in the past about stretching on the bias and ending up with a "bra cup" effect in the center of the star. Yeah, it happened-- but not in a really awful way, and I think it'll quilt out when I get to that point. Ha ha. I'm planning to make this bigger once it comes home, so that we can use it on the bed. Right now it's about 60" square, so I'm thinking smaller versions of the star in 3/4 sections around the corners, with simple filler to connect them.
Doesn't make sense? I'll try to remember to post what I designed in EQ, once I figure out how to export the image.
Moving on...
In the endless parade of Gwen's Friends Having Babies, I came across this awesome tutorial for a diaper bag at the blog A Mingled Yarn. Her directions are easy to follow, measurements came out just right (any problem spots I had were due entirely to my inability to just leave well enough alone, at least the first time out) and it's a good size. I think. Rob called it the MomJeans of purses, but then, that's kind of the idea.
 There are a few things I'll likely change in a more definitive way on the next go-round, as this one was more a test/sample than anything else; the batik I had on had from who knows when, and the lining was some super-cheapy stuff I picked up a while back. She recommends using vinyl or vinylized fabric for the interior, which I will look for on the next one. I had to double up on the interfacing in most spots just to give it some body, and the vinyl will probably help that. I'd like to also make the strap an adustable length, but I'm having trouble finding the hardware I had in mind, so we'll see.
Under the flap...

So the hunt for a diaper bag pattern was brought on by my best friend's upcoming bundle of love; not only do I think she needs something more interesting and snazzy than the stuff readily available all over, I also think her man should have a bag of his own to carry. And what could make it better than something simple, messenger-bag-like, and featuring logo(s) from favorite teams? Yeah.
Inside the bag...
 At first I had a fit of insanity and considered making an applique version of the Blackhawks logo. Then I regained my sanity and realized that even if I can't find a patch already made, I'm resourceful enough to find a solution that won't make me regret ever coming up with the idea.
Now I just need to find a fabric that will hold up to the kind of abuse guys tend to give bags.
While that project stews-- she's not due for several more months yet-- I've been busy with other platefuls of fabric.
Working on one the first quilts I'm quilting for someone else (that is to say, not my quilt). It's coming along quite nicely and I'm really pretty happy. This is also the first time I'm using a piece of the wideback fabric from the store, rather than a pieced back, and it is WAY easier. I don't have to worry so much about trying to square things up; just run the selvedge edges on the bars and I'm good to go.
 The batting this time is the Dream Green from Quilter's Dream, which is made from recycled plastic bottles. So far it's feeling really good! Nice to stitch through. I'm really curious to see how it looks after washing, since the fabrics in this quilt weren't prewashed, and I can't imagine much if any shrinkage from recycled plastic bottles.
To keep my brain occupied while I'm running the machine, I've been listening to movies. (I've already gone through all seven Harry Potter audiobooks, and can't bring myself to start them over again. Yet.) I have a few that we've captured the audio from ourselves-- Rob has a way with these things-- but lately I've been going through this site, since my own movie collection is pretty small.
Listening to just the audio is kind of nice-- it doesn't work well with every movie, since you have to have either decent dialouge, good soundtracks, or some great foley & special effects work (scenes of dramatic tension translate about as well as visual gags on radio shows) but on the whole it gives your mind something to follow without the temptation to stop what you're doing just to watch.
Last but not least...
I'm a new Ciocia once again, as my older brother and his wife added to their family last week. Yay!
And while a baby quilt is in the plans, this new neice's older sisters are going to need a little love too. And as we weren't a part of their world when they first entered it, there's a certain lack of quilt happening that just can't continue. The trick is making something for 13-year-olds that is fun now, but won't look childish in a few years when they're awesome high schoolers.
Whew. That's a scary thought.
 So I've come up with my own design, and have been cutting pieces from my stash (they'll be scrappy, I haven't done a good scrappy quilt in a while) while we watch movies and things. The photo has my sample blocks for the two quilts (one in darker tones, one in lighter tones). I'm trying to also get the scrap bins under control, so this is a good way to use up pieces. From what's left after the pieces for the current quilts are cut, I've been cutting assorted squares, in half-inch steps, just to have on hand and cut down the clutter. Keeping the range between 2" and 6" right now, and any odd bits after that are getting tossed. It's harder than I thought it would be to just LET IT GO and put those weird-shaped too-tiny bits in the trash, but it's gotta happen some time.
That's all for now... I should be sewing instead.


 And an old (cough) friend! This damn thing refuses to speak to me and give an indication of what it might want in order to bloom the way it ought to, but I've about had it and will start forcing it to eat its peas any moment. I keep tweaking it and waiting for a response... I think it's destined for some background stitching next. If nothing else, that will make it easier to add additional branch-and-leaf layers.
 A rather hasty shot of the quilt I made for my aunt as a Christmas gift. I knew going into it that I was taking a risk... Mom doesn't have her own quilt from me yet, so sending one to her sister first could cause a ruckus. Plus, deciding 3 weeks or so before postal deadlines that a lap quilt might be fun is a bit nutty. But it came out okay, and I had it finished and all the ends snipped in time to get it mailed out to the west coast.
 Instead of mounting the pieces on them directly, though, I threw a little paint on some and have been chopping up fused fabrics again. I'm torn about whether I like the feel of "composing" on the canvas, which means I'll either have to forego any stitching or do it by hand

 Still in progress.... there's more detailed shots of how all the little pieces fit together if you go back several posts to the bit where I was working on the big willow last year.
 And when I finally got over my fear of winding an actual project on for the first time, it went pretty smoothly. Took forever, yes, but mostly because I was worried I'd get it all pinned onto the leaders and wound up, only to discover I'd put it on upside down.
 With the cloth leaders visible at the top edge, there. I debated about getting these. For about 2 seconds. And while I'd been thinking it would mostly be helpful for being less stretchy-- they're made of material that's closer to the weight of cotton duck, rather than muslin-- having those marks helps you make sure you're not stretching or squishing the top when getting it pinned on. My sister's friend has zipper leaders for her machines, and the thought of sewing zippers onto these has already crossed my mind. We'll see how the first few go.

 Check out her shop for pretty pretty jewelry pieces, with some gorgeous glass and floral details.
 Check out her shop for handmade soaps & bath bombs. I'll admit I'm intrigued by "
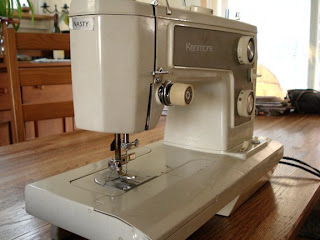 I'll admit, though, that I miss Maury's ability to adjust the pressure of the presser foot-- it's awfully handy for getting over high spots and thick seams. The Pfaff doesn't allow for that, and I remember asking about it when I was shopping for that machine; the saleswoman looked at me like I was nuts. If any of you out there find yourself shopping for a sewing machine, always ask questions! Think about what you want to do, or what you may have had trouble with in the past/on a previous machine. Think about the features you envy on your friend's machine. Test drive, test drive, test drive-- would you buy a car without taking it for a spin first?
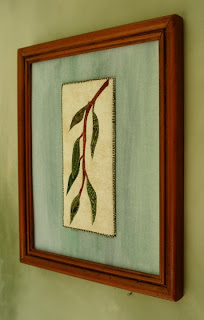 This piece, Leaves #2, will be making its way to the
 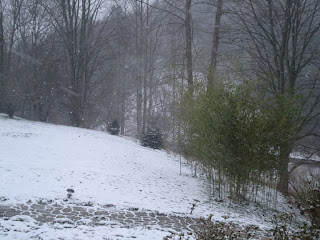 Last fall I planted hosta, lily of the valley, and one beautiful peony, all of which were happily making their way, and I'm glad I decided to cover them up last night. I realized this morning that I missed a few out front, which are now under an inch of snow.
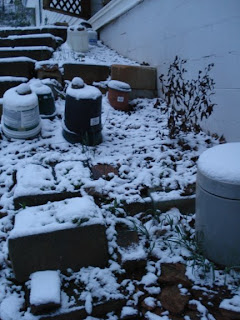 The sight of those snow-covered pots is jarring something in my sketching brain-- that part that makes me squint at things and cross my eyes to see it in a different light, and grab whatever scrap of paper is available to make my visual notes on what I'm seeing. Sometimes it's the way light hits an object, or an angle that makes me think it bears an uncanny resemblance to a totally unrelated memory. Sometimes it's just the pattern of lines on the back of a truck, or the side of a building. I feel a pang when I read articles about people with sketchbooks and journals full of ideas and colors-- mine are scattered into pockets, coats from last summer, under the seats of the car, on the grocery list, and a hundred other places.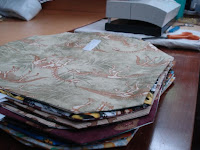
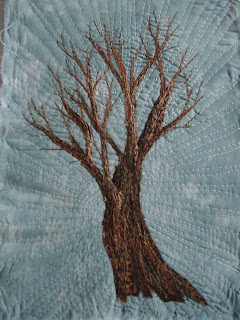
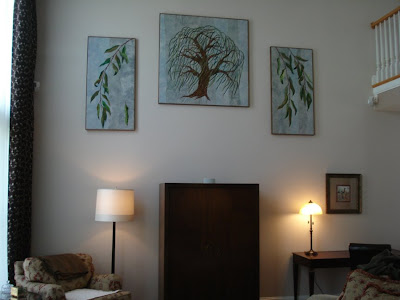 It's funny how appropriately-sized it seems hanging on the wall, when it was taking up most of my little studio and spilling out into the next room. I've been doing so much smaller work that I had forgotten what a pain it can be to squeeze things through the throat of my machine, having to continually stop to reroll. I wish I had photos of me cramming queen-size quilts through that space; I know I've done it, but I can't picture it when I'm sitting there.
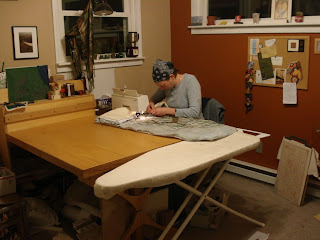 I'm happy, I'm proud, and I'm wishing for a good massage to get all those knots out of my shoulders before I start the next project.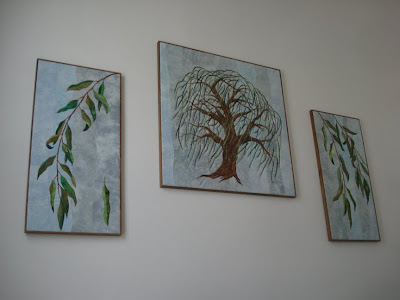
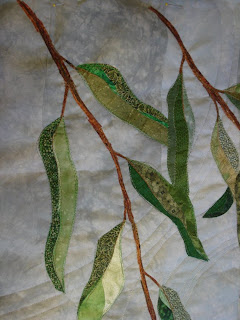 I've been a little lazy with the camera, in part because we drained the battery. You think you have your shot all lined up, and then it just shuts off. It's also been gray and rainy for a while, and though I love all the fog and mist and find those gray days to be pretty good for me creatively, it does make it harder to get nice photos. My best work time, usually, is very very early in the morning and late in the evening-- I think there's something about the non-descript character of the outside at that time (in the dark, or in the gray/overcast days) that lets my mind run free. I'm not thrown off track by external stimulation. Or maybe I'm just a night owl.
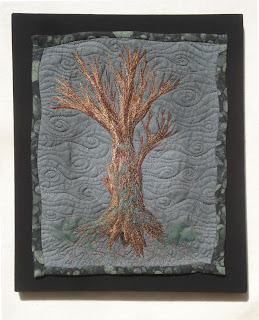
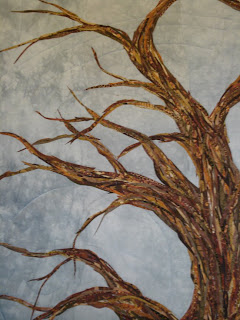 Back to the tree. Here's a before-thread view. I've gone back in and fleshed out some spots, added pieces to tweak the color.
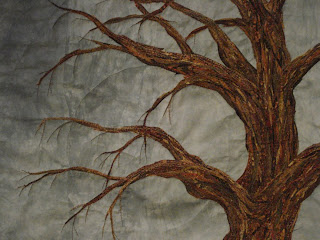 And this is roughly the same area, with thread work (and low light). One of the things I love about working in fabric is being able to add this layer... with something like painting, you create the image and any adjustments or additions you make (while lovely, I'm not knocking painting) are additional layers of the same material-- paint. In most cases. With fabric, you can create the image and completely change the character and direction of the piece simply by adding the threadwork.
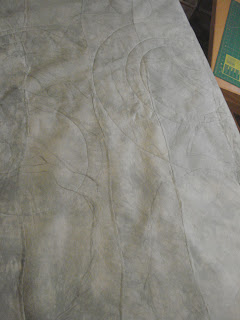
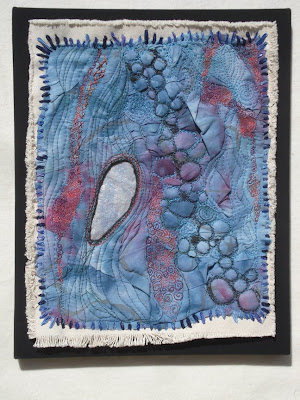 For a long time, it sat here: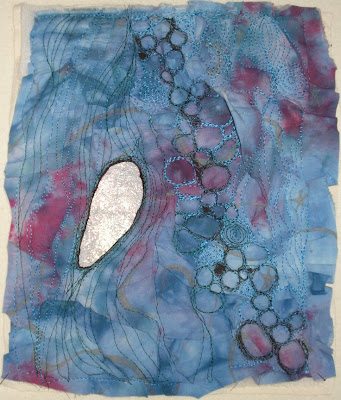
 With the pile of brown paints and the teeny rotary cutter, I get busy slicing and shaping.
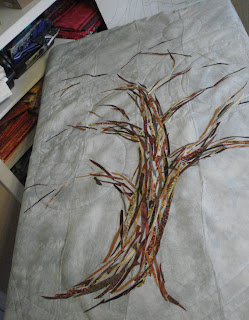 Now the overall shape is clear, moving outwards into the smaller branches, and I start to close some of the gaps.
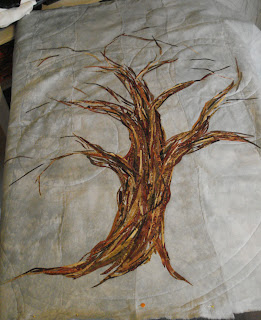 The body gains solidity and more shaping to define the places where there is overlap or a split between branches. I've been tacking things down with the iron along the way, just a brief 2 or 3 second touch to keep the pieces from shifting as I layer and cover gaps. Before moving into the top section I'll slide my small pressing mat underneath and press over the whole lower trunk.
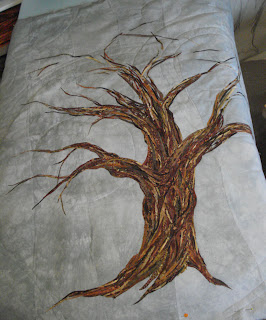 The whole piece is shifted to give me access to most of the top area. It is all resting on a piece of blue insulation foam (the stiff stuff, about 1" thick, that you can find at places like Lowes or Home Depot), which in turn is balanced on the ironing board. Insulation foam is, I think, the easiest and fastest way to give yourself a design wall. You can pin into it and prop it against the wall, or wrap it in flannel-- even a bedsheet would do-- and your fabric will stick to it without pins, great for auditioning fabric placement.
  And the full image:
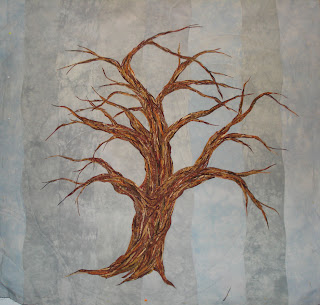 I'll go back in to tweak some areas where it needs a bit more coverage, or where an especially light or dark fabric is leaping out and needs toning back, but overall it's ready for threadwork. Once the thread is in, the foliage will be added and stitched over. But that's for another day....
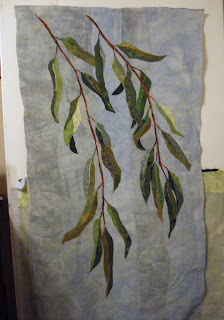 New updates on the big project! I managed to get a few photos while the light was nice and sunny. All the color lay-in is done on the side panels and I'm cutting for the center panel, which is the most delicious part for me. I love putting the trees together.
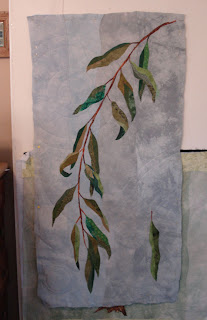 This is the left side panel, with the right up at the top of the post. From this point, they're ready for threadwork, and then will be stretched on a wood frame. Once this project is done, I'll do a post with some step-by-step photos showing how I do that part-- this one will be a bit unwieldy to get pictures along the way. The side panels are 24"x48" so I'll need both hands...
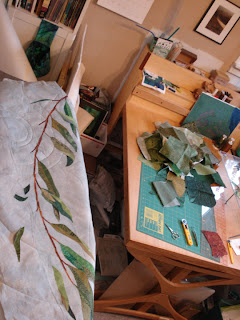 My pile of green paints is on the table, along with several small rotary cutters, scissors, and the all important tweezers, which make arranging small pieces much easier.


 Posts
Posts

