
 New updates on the big project! I managed to get a few photos while the light was nice and sunny. All the color lay-in is done on the side panels and I'm cutting for the center panel, which is the most delicious part for me. I love putting the trees together.
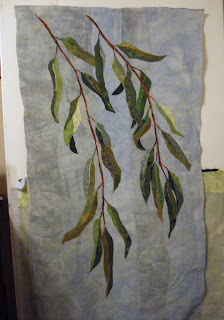
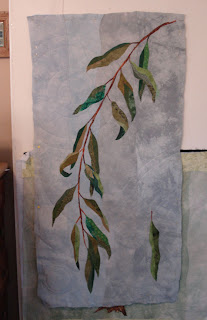 This is the left side panel, with the right up at the top of the post. From this point, they're ready for threadwork, and then will be stretched on a wood frame. Once this project is done, I'll do a post with some step-by-step photos showing how I do that part-- this one will be a bit unwieldy to get pictures along the way. The side panels are 24"x48" so I'll need both hands...
The panel is resting on my ironing board so I can tack pieces down a little at a time. Taking a hint from Melody Johnson and her super helpful blog (one of the first I started reading, check out the list in the sidebar for specific info on fusing), I use pre-fused fabrics with the paper removed. This creates what I think of as my "paints". I can then cut freely without have to worry about stitching every single piece.
You can see the paper template behind the board-- I roughed in the leaves with charcoal pencil, but having the drawing available helps me sort out what I'm seeing when the leaves overlap.
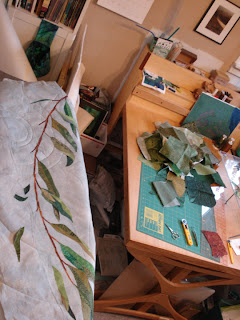 My pile of green paints is on the table, along with several small rotary cutters, scissors, and the all important tweezers, which make arranging small pieces much easier.
If you're here visiting from my Etsy shop, thanks for coming by! This current piece is absorbing all of my time right now, but I'm nearly done, and will get back to making art in a more manageable size. On the other hand, if you have a lot of wall space you're looking to liven up with something none of your neighbors have, I can help you out, lol. This piece is a commission for an Asheville resident with a very tall living room wall; I hope to have a few pictures when it's done.


No comments:
Post a Comment