

The overlap is on top of the cutting mat, with the already-sewn portion to the right. I have a few pins holding the two pieces together since I've got these laid out on the floor.
Cut the curve through both layers at the same time (either freeform or you can follow a pattern, but try not to get any REALLY deeply rounded parts):
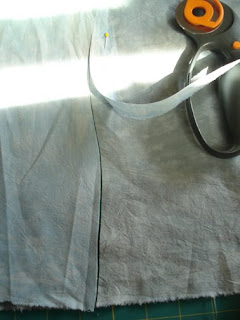 Make registration marks to give yourself a guide for lining up the two pieces when you're sewing. I put some pins in to hold them together until I'm closer to the sewing machine, but mostly because it's such a long seam. For smaller pieces, just the marks will do.
Then they get placed right sides together, and line up the fabric as you go-- no pinning--so you're only pulling together the next inch or so as you stitch. Use the registration marks to stay lined up as you go (the pencil marks are visible just in front of my thumb):
 I find it easier if I keep the top fabric lifted slightly, and just keep easing the curves...
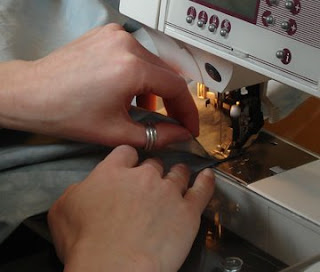
Once it's done, press with a little steam and you're ready.
I'm looking forward to the next part-- a quick bit to add interfacing, then batting, and getting those background circles quilted in, and then the fun part... drawing the tree and all the leaves.


No comments:
Post a Comment